If You Spend
More Than 15 Minutes
For Deep Cleaning
Your Fridge …
There Must
Be Something Wrong
Step 1 – Clearing (1 Minute)
Switch off the refrigerator in order to pull out the main plug. Then the goods can be cleared out and sorted out (check of the best before date). If possible, store them in another refrigerator.
Step 2 – Cleaning (6 Minutes)
Now the main cleaning starts. First all trays and drawers have to be removed from the refrigerator. They are best washed in the sink with a sponge in warm rinse water. Then we dry these parts with lint-free cloths and set aside for the time being. Afterwards, the interior can be thoroughly cleaned from top to bottom, and grooves and narrow edges can be carefully cleaned with a wooden stick (e. g. a shaver stick). If the hole is blocked by the drainage channel for the condensation water, it can be cleaned with a cable tie. The drain hole can be cleaned, for example, with a cotton swab.
Step 3 – Drying (4 Minutes)
Thereafter, the entire interior and the shelves is dried with lint-free cloths. Once dried the shelves have to be replaced and the appliance can be put back into operation.
Step 4 – Storing Goods (1 Minute)
Now we are almost done and the foods can be stored back. Here we have to take care not to overfill the fridge with food. This allows the air to circulate between the individual foods, keeping them longer lasting. By the way, one stores food best sorted after the cold zones of the refrigerator. For example, cheese, prepared food or smoked meat go all the way up, and other dairy products, such as yoghurt or cottage cheese, have their place one floor lower. Fish, fresh meat or sausage should be stored in suitable and resealable cans on the glass plate underneath. Here is the coldest place in the entire refrigerator and perishable products are well protected. It is best to store fruits and vegetables separately in the compartments provided at the bottom. Here it is neither too cold nor too warm and vitamins can be well preserved.
Step 5 – Cleaning Outside (3 Minutes)
If it is a standard device, it is more practical to move the device when empty and to clean the outside. Then put the device back in its place, put it into operation and put it back in again. The heat exchanger (pipe coil) on the back should then also be cleaned. For this purpose, a rinsing or bottle brush is most suitable. Loosely lying dust can also be extracted with a vacuum cleaner.
If your fridge got a stainless steel body finger marks can be easily removed with a damp cloth. If necessary, you can help with a little fat-dissolving detergent. Also slightly moistened microfiber cloths have proven to be effective. Basically you should avoid the use of abrasive cleaners. They cause scratches and can reduce the rust resistance of stainless steel. Also, disinfectants and bleach contained in some cleaners can attack the material. The same applies to strong acid, salt and chloride cleaning agents.
Suitable Agents
Suitable is any food-safe all-purpose cleaner or detergent, which will be rinsed with clear water or clear water and a dash of lemon juice afterwards. The lemon juice lowers the pH of the water and this acidic environment does not provide optimal living conditions for bacteria anymore. But this last step does not have to be executed every time. It is not really necessary to disinfectant the fridge every time we are going to clean it but a special treatment from time to time with water and a dash of lemon or vinegar is perfect to maintain the hygiene inside the fridge. Very important is to clean the refrigerator at regular intervals and to avoid the accumulation of heavy encrustations, deposits or mildew. Also scouring milk is unsuitable for cleaning, because it scratched the plastic surface, bacteria can settle on these surfaces.
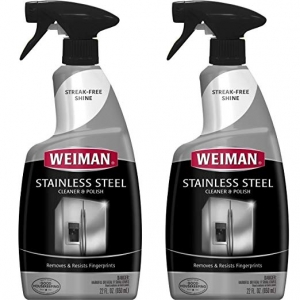
Special stainless steel cleaner build up a protective film against stains. With proper care, however, you can keep your stainless steel surfaces in good shape. There are sprays and wipes specially developed for stainless steel care. They cover the stainless steel with a microscopically thin protective layer, which is also preserved when cleaning with normal cleaners and acts preventively against new soiling
The recommendations on how often the interior of a refrigerator should be cleaned range from once a week for homes where people in need of care live up to every 2 to 3 months.
Note: Due to that acidic agents may harm the rubber sealing gaskets of the fridge avoid wiping the gaskets with vinegar or water lemon juice solutions – for the gaskets just any food-safe all purpose cleaner is suitable
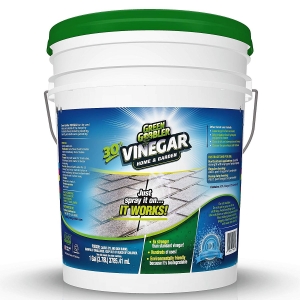
For the deep cleaning of a fridge we suggest
the following remedies:
Energy-saving tips for refrigerators
Refrigerators save more energy if they are not too empty. It is recommend to fill any fridge at least two-thirds and to avoid long and frequent opening of the door, so less air has to be cooled down. Removed Goods should be reset as soon as possible and food or drinks should always be cooled before putting inside. The location is one of the most important points for energy consumption. Refrigerators and freezers should be kept in the coolest possible place, as a reduced ambient temperature reduces energy consumption immensely. Avoid placing the devices next to the stove. Saving energy means saving money!


